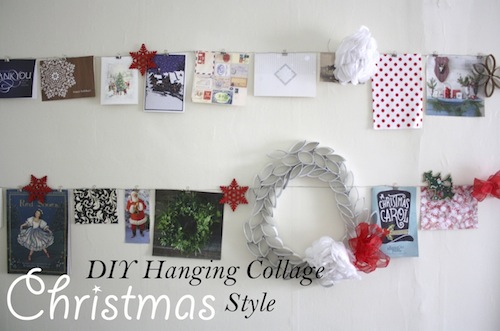
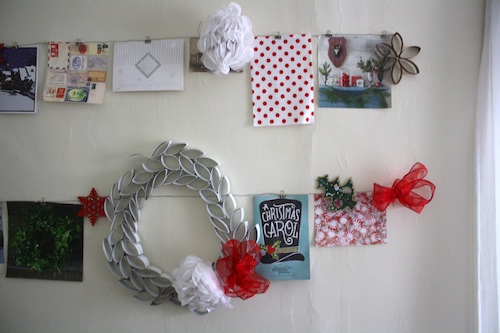
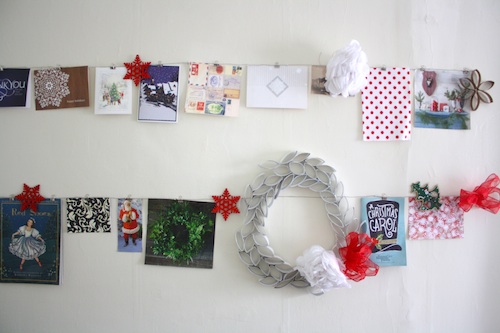
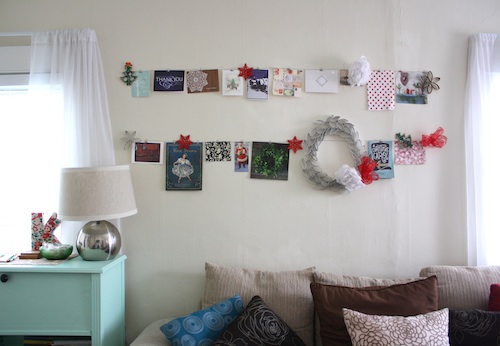
When I decorate for Christmas, I like to use items I already own and just Christmas-ify them. Take this hanging collage.
This project actually started quite a while ago as a way to fill the empty wall space between two windows in my living room. I was having a hard time arranging the random bits of paper and other items on the collage in a look that I liked. Nothing was working. Luckily, Christmas time came along.
So, everything else came down, and Christmas décor went up. I shuffled through drawers and photo boxes and ended up with quite the pile of sort-of-related-to-Christmas items to hang on the collage. Magazine clippings. A book. Last year’s Christmas cards. (I plan to replace these as new ones come in.) Random snowflake ornaments. A piece of felt. Overall, I think it works.
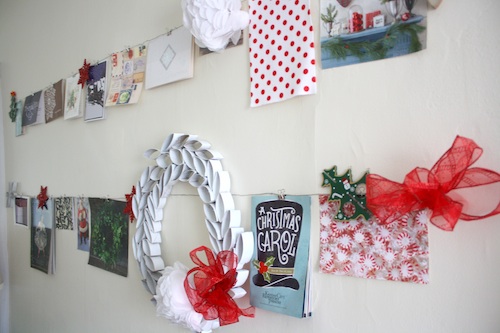
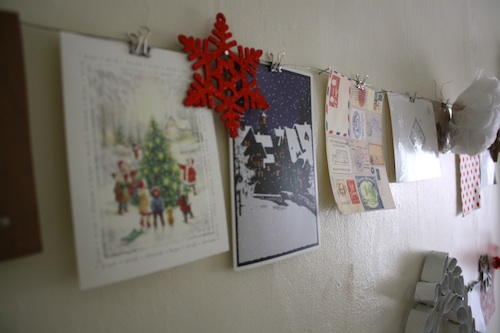 This hanging collage couldn’t be easier to create. Even for the not so handy do-it-yourselfers out there. Here’s how.
What you need:
Picture hanging wire
Nails
Hammer
Tape measure
Small binder clips
Cute items to hang
Directions:
Using a tape measure, determine how long you want your hanging collage to be. Also, decide how many rows you want. (I went with two.) Mark the length of each row with a pencil. (This is probably the correct way to do it. I just marked each of the ends and hoped I could make it level.)
Then, using your tape measure, hammer in a nail at set distances along the line of your collage. I think mine were about 10 inches apart. They don’t have to be perfectly even. The nails are just there to support the wire.
Finally, curl a length of picture hanging wire along the last nail at the end of one row to secure it. Then, run the wire the length of the collage along the nails so that the wire sits atop the nails for support. Snip the end of the wire and curl it around the remaining nail several times to secure it. Repeat these steps with any other rows.
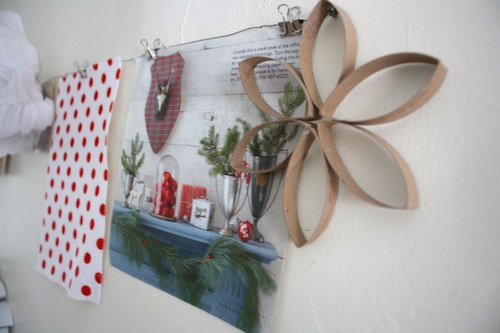
Now you can hang up all of your fun images, photos and clippings. I used small silver binder clips to secure each item to the wire.
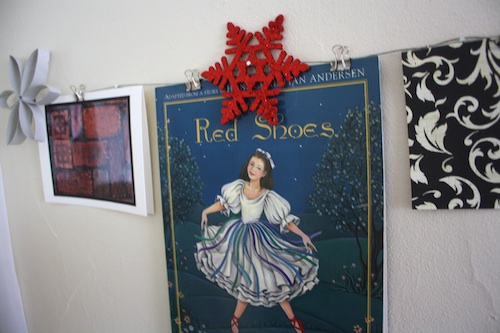
I found this old book randomly. Turns out it is actually related to Christmas. The cards on either side of it aren’t actually Christmas cards, but I like their overall look.
Last year’s Christmas cards.
I filled blank spots, with Christmas-related magazine clippings. Also, check out my snowflake made from a toilet paper roll!
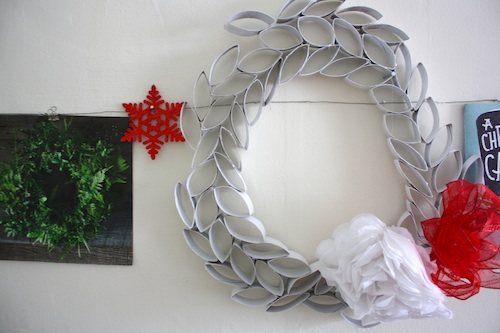 Speaking of toilet paper rolls, I made this wreath from toilet paper rolls and spray painted it white. My friends made fun of it, but I quite like my toilet paper roll wreath. (In hindsight I should have gone with a color that didn’t blend in with my walls, but at the time I didn’t know what I was going to do with it.) Want to make your own toilet paper roll wreath because you disagree with my friends and think it’s awesome?? Check out the tutorial I used here.
What do you think of my hanging collage? Please let me know in the comments section! If you’re thinking about making your own Christmas collage, don’t forget to send me pics of the finished product!
Keep Up With Red Leaf Style!
Follow Red Leaf Style author Kirsten Hudson on Twitter @kirsten_hudson, Google+ and Pinterest.



December 22, 2012
[…] Looking for other crafty Christmas projects? Check out how to make this fabric wreath and this do-it-yourself hanging collage. […]
January 18, 2013
[…] It doesn’t help that my hanging collage is completely empty except for one lone postcard. After decorating the collage for Christmas, I took everything off of it…and haven’t put anything back up. I’m such a bad home […]
January 18, 2013
[…] It doesn’t help that my hanging collage is completely empty except for one lone postcard. After decorating the collage for Christmas, I took everything off of it…and haven’t put anything back up. I’m such a bad home […]
January 30, 2013
[…] Love this collage? See how I decorated it for Christmas. […]
January 30, 2013
[…] Love this collage? See how I decorated it for Christmas. […]
February 19, 2014
[…] Like the look of my collage? See how I decorated it for Christmas. […]