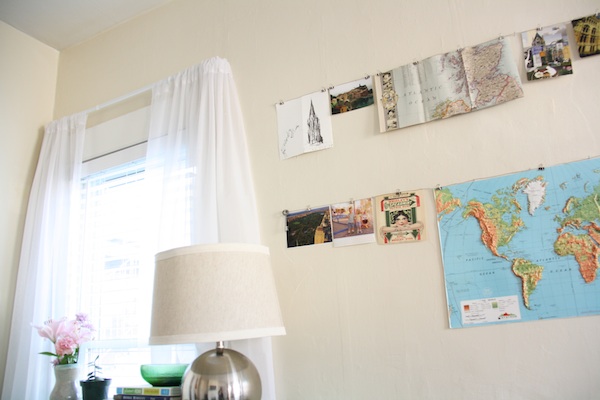
If you need an easy way to fill a blank wall, go for a simple hanging collage. It creates a lot of drama without much effort. It’s inexpensive. It’s completely customizable. And, it doesn’t require you to be handy with any tool more difficult to use than a hammer.
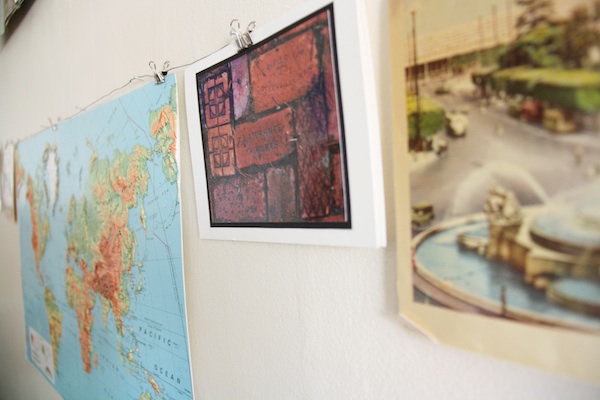
Basically, you just string up a length of picture hanging wire supported by nails. Then, you use small binder clips to secure photos, magazine clippings and any other pretty papers you want to the wire. (Step-by-step instructions are at the end of the post.)
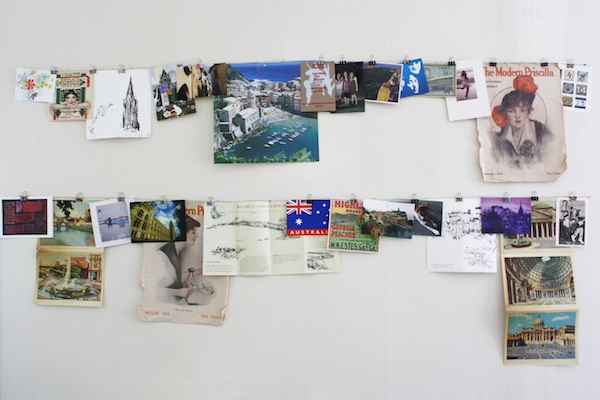
When I first hung this collage in my living room, I had some decorating issues with it. See…
Whoa. Way too much going on. It seems that I wanted to hang pretty much every postcard, photo and stray paper I had available on my collage. Don’t do this. It’s unorganized and cluttered.
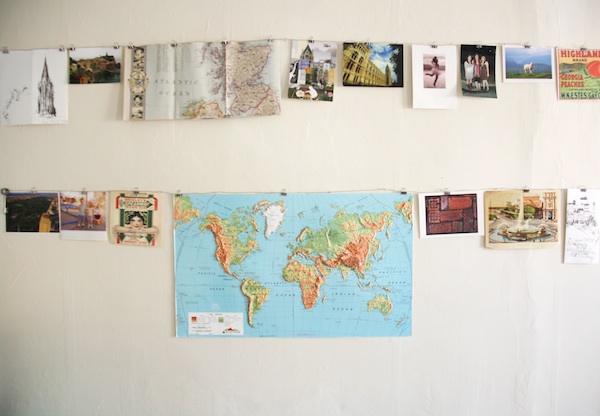
Instead, do this:
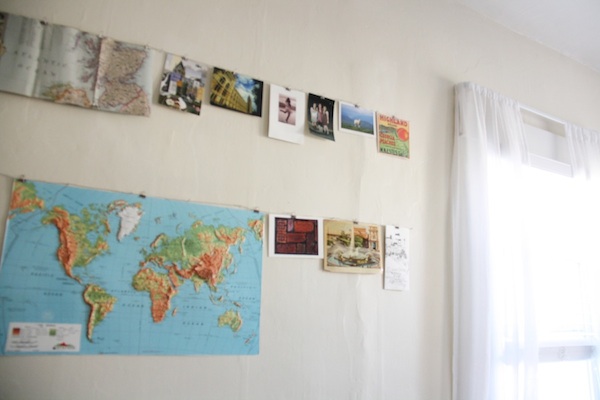
Keep your papers and images evenly spaced. If you leave some room in between each paper, it creates a clean look.
I also like the idea of picking a “theme” for your collage. That way it’s not too random. I chose travel. Thoughts of wandering and discovering new places inspire me. Plus, I already had a box full of various papers I accumulated during my travels that I wasn’t showing off! Now, all of my postcards, photos and other travel odds and ends are all in one display.
Want to make your own hanging collage? Here’s how.
What you need:
Picture hanging wire
Nails
Hammer
Tape measure
Small binder clips
Cute items to hang
Directions:
Using a tape measure, determine how long you want your hanging collage to be. Also, decide how many rows you want. (I went with two.) Mark the length of each row with a pencil. (This is probably the correct way to do it. I just marked each of the ends and hoped I could make it level.)
Then, using your tape measure, hammer in a nail at set distances along the line of your collage. I think mine were about 10 inches apart. They don’t have to be perfectly even. The nails are just there to support the wire.
Finally, curl a length of picture hanging wire along the last nail at the end of one row to secure it. Then, run the wire the length of the collage along the nails so that the wire sits atop the nails for support. Snip the end of the wire and curl it around the remaining nail several times to secure it. Repeat these steps with any other rows.
Now you can hang up all of your fun images, photos and clippings. I used small silver binder clips to secure each item to the wire.
Like the look of my collage? See how I decorated it for Christmas.
What do you think of my hanging collage? Please let me know your thoughts in the comments…
Keep Up With Red Leaf Style!
Follow Red Leaf Style author Kirsten Hudson on Twitter @kirsten_hudson, Google+ and Pinterest.


February 4, 2013
[…] actually stole the idea for this hanging collage from a friend who had her collage decorated for Valentine’s Day last year. It’s a great way […]
February 21, 2013
[…] I write about, every do-it-yourself project, decorating idea and thrift store find, is because it’s something that made my home feel just a […]
January 9, 2014
[…] (Psst. Want to get the look of this Ikea hack for even cheaper? In my old apartment I made a similar photo display using just nails and picture hanging wire. Check out the DIY hanging collage.) […]
January 27, 2014
[…] (Psst. Want to get the look of this Ikea hack for even cheaper? In my old apartment I made a similar photo display using just nails and picture hanging wire. Check out the DIY hanging collage.) […]
February 13, 2014
[…] actually stole the idea for this hanging collage from a friend who had her collage decorated for Valentine’s Day last year. It’s a great way […]