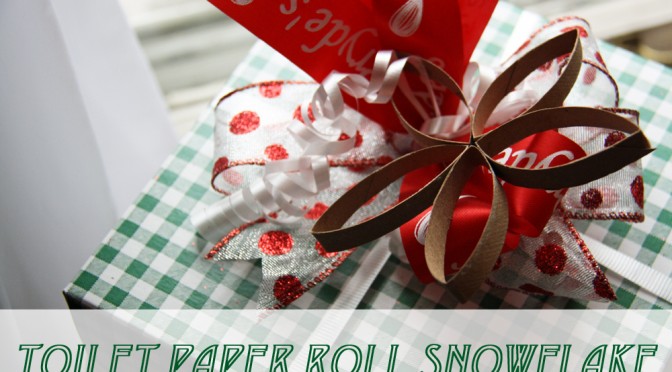
Are you wrapping some last-minute presents today? I know I still have a few to wrap. Just because it’s last minute, doesn’t mean you don’t have time to make each present special. This tutorial will show you how to make a pretty snowflake to top your presents in just minutes. Plus, it uses something we all have around the house—toilet paper rolls! Here’s how to craft your own toilet paper roll snowflake. Gather a bunch of toilet paper rolls or paper towel rolls. Flatten the roll and then cut segments at about 1/2 an inch. Keep cutting and you’ll have a bunch of petal-shaped pieces. Next, hot glue your pieces together in the shape of a snowflake. I just put a tiny dab of glue on the corner of one piece and stuck the other corner to it. Then, just go around in a circle. I used five pieces to make my snowflake, but you can use as many or as few as you like. After all, no snowflake is the same. What do you think of these toilet paper roll snowflakes? Let me know in the comments… Keep Up With Red Leaf Style! Follow Red Leaf Style author Kirsten...
Christmas Mantle 2013
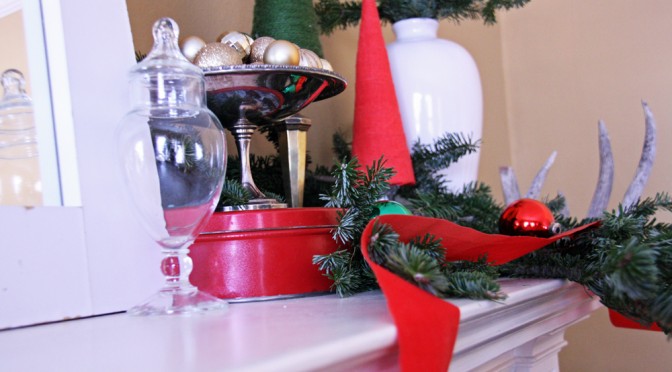
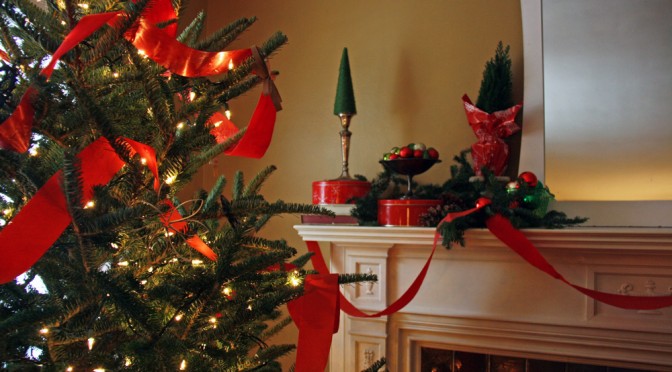
Welcome to my Christmas mantle this year. I went with super traditional red and green, with a bit of gold metallic mixed in. What’s most exciting about my mantle though is that I decorated it for the holidays without buying anything new! After shopping around the house for items I liked, using last year’s Christmas ornaments and repurposing branches trimmed from the Christmas tree, I had a pretty display. I already had all of the containers, candlesticks and tins used on my mantle. I don’t remember when I bought the big wide ribbon. It was in my Christmas storage box, along with all of the ornaments. I guess I did buy the supplies to make these Christmas tree cones. (But it cost me less than $4 to make the three cones.) Instead of garland, I used the branches trimmed off the bottom of my Christmas tree. The antlers (found on the ground by my boyfriend) seemed appropriate for this time of year. Does it look Christmasy in my home or what? What do you think of my mantle this year? Let me know in the comments… Keep Up With Red Leaf Style! Follow Red Leaf Style author Kirsten Hudson on...
Decorating For Christmas: New Holiday Art Print
I’ve been obsessed with a trend I’ve noticed around the home blogging world lately: decorative pillows with holiday sayings on them. One of my favorites is this “Baby It’s Cold Outside” pillow over at The Nester. It’s an unexpected touch of festiveness without looking over-the-top Christmasy. I think I’m also into mixing words/type into home décor right now. As a writer, I’m a big word nerd. I didn’t feel like committing to a pillow. (I’m hard on them.) So, when I spotted this print with its modern merry look, I had to have it. I don’t even remember how I found the artist, Lindsey Nichols at The Curious Nickel, but when I saw that she was based in Kansas City, Missouri I was even more excited because buying her print meant supporting local art! Well, this pretty baby arrived today! I popped her into a simple black frame I already had, and right now she’s hanging out on my mantle. I’ll probably move her around the house several times and I can’t wait. Psst. Lindsey’s having a sale over at her shop on Etsy. Buy two 8×10 prints, get one free. I took part in her sale, so I...
Making It a Christmasy Christmas
Every year I get the urge to make it really Christmasy Christmas. By that I mean a fully decked out house with lots of Christmas cheer. I’m talking festive decorations in every room, Christmas cookies, fudge and baked goods out on display and a big real Christmas tree. As I start decking the halls though, it seems like there’s always more to do than there are days in December. Living in apartments or rental houses never helped either. Before, I didn’t have the space or the décor (picture lots of college furniture) to make my home look as merry as I envisioned. But this year I did it. Even though I live in a rental house, I managed to give my home some holiday style—and it didn’t take a lot of effort or money. The only Christmas decoration I actually purchased was my tree. By simply reusing what I already had or crafting decorations myself, I made my home quite festive for Christmas. Now, it’s time to just enjoy it. I hope you enjoy it too! Here’s a little taste of what my Christmas mantle looks like. I’ll write a full blog post on my mantle soon! My Christmas tree...
DIY Homemade Christmas Ornaments with Cinnamon Sticks
These easy-to-make cinnamon stick Christmas ornaments will fill your home with the enticing scent of cinnamon spice. You can construct these simple Christmas ornaments using just cinnamon sticks, cardboard and a hot glue gun. It’s a great way to use up any extra cinnamon sticks in your cupboard. I put together this crafty Christmas project for Organic Authority, a food, home and lifestyle website dedicated to living organic. Head on over to Organic Authority to find out how to make these homemade cinnamon stick Christmas ornaments for your Christmas tree. Get more decorating inspiration when you sign up for my e-newsletter!...
DIY Christmas Tree Cones
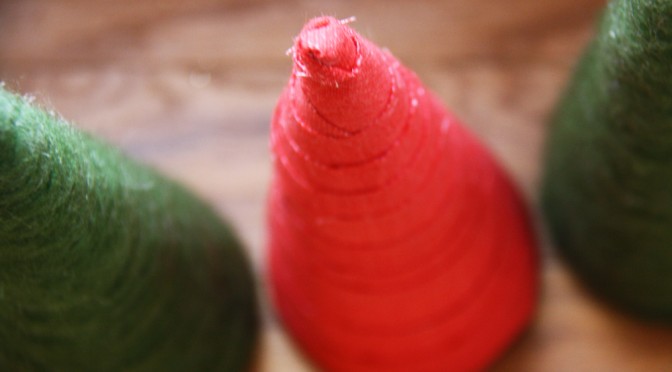
If you want to decorate your home for Christmas but don’t want to spend a bunch of money, these easy-to-make Christmas tree cones are for you. This simple craft project cost me next to nothing to make and now I have three cute Christmas trees to decorate my mantle. Making these Christmas tree cones doesn’t require a lot of supplies or effort. This project is so easy even the not-particularly-crafty folks can do it. Follow my step-by-step instructions to make your own crafty Christmas tree cones using yarn and fabric. Supplies for yarn cones: Styrofoam cones (I purchased three at Dollar Tree for $3.) Yarn (I already had some green yarn on hand.) Hot glue gun/glue sticks Thick paper Supplies for fabric cones: Styrofoam cones Fabric (I had some on hand that I purchased from an estate sale for $1.) Hot glue gun/glue sticks Thick paper Straight pins The steps for making yarn and fabric cones are similar, so I’m just going to go through them at the same time. Start with your styrofoam cones. The cones I purchased didn’t have pointy tips. I wanted them to actually resemble Christmas trees, so I had to create my own tips. To...
DIY Ornament Wreath For $10 or Less
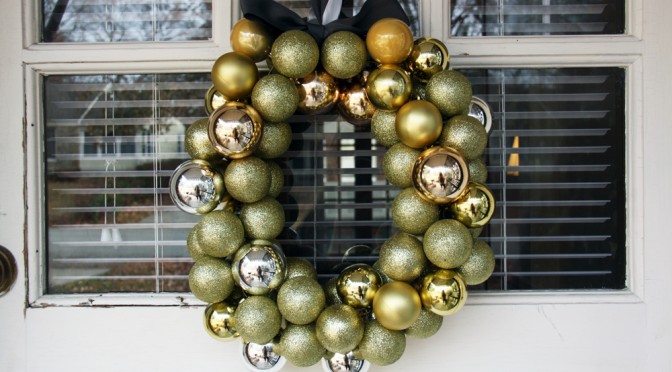
Wreaths made with ornaments have a Christmasy look all their own. An ornament wreath just feels a bit more fun—and festive—than a traditional garland wreath. It’s something about the shiny baubles reflecting Christmas lights that I love so much. I’ve wanted an ornament wreath to add a little sparkle to my front door for a while. But after seeing the prices of store-bought ornament wreaths, I knew I wanted to make my own. ($40 for a wreath!?) Besides saving money when you make your own ornament wreath, you can also customize it any way you want. You get to choose the exact color combination and size. I crafted mine with a mixture of gold hues. I also chose to make a medium-sized wreath, but now I really want to make a mini version too. Putting together an ornament wreath couldn’t be easier. Here’s how you can make your own homemade ornament wreath for $10 or less. Supplies: Ornaments, $5 (I bought five tubes of 12 ornaments at Dollar Tree. I would recommend buying a few more if you’re making a large wreath. I supplemented with a few ornaments I already had.) Wire hanger, Free (You could use any wire...

