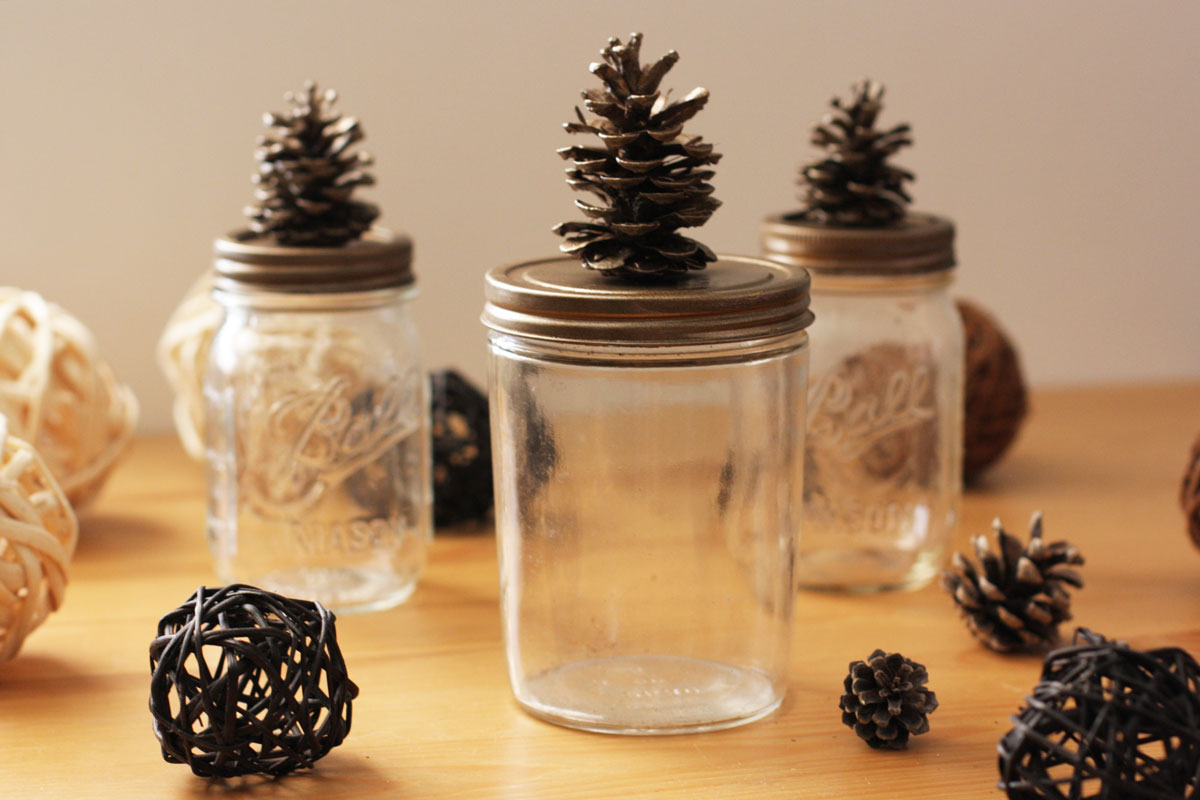
Hunting for pinecone crafts to make? This easy craft project transforms ordinary jars into fall decorations in no time. You'll love how these pinecone jars easily fit into your home's decor while also looking festive....
Cookie Cutter Ornaments With Old Photos
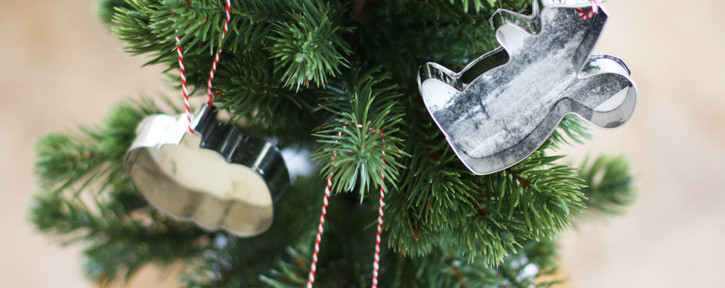
Trim your tree this year with ornaments that have a personal touch. Made from aluminum cookie cutters and old photos, these do-it-yourself ornaments showcase family members present and past. These ornaments are super easy to make. Just whip out your grade school skills of tracing, cutting and gluing, and you’re good to go. Whether you need an inexpensive method to fill your Christmas tree or a creative way to personalize your tree, these cookie cutter ornaments are eye-catching and easy-to-make. I came up with this project when tasked with producing a Christmas-themed craft using old photos for the December issue of VintageKC magazine. I didn’t have any old photos on hand, so I headed to my favorite antique mall. As I sifted through bins of black and white photos, I couldn’t help but feel sad for the people pictured. How had the photo memories of their marriages, babies and special events ended up in a nameless bin? At least the few I took home with me would find new life, if only on a stranger’s Christmas tree. I also found a few aluminum cookie cutters for $1 each at the antique mall. Besides your cookie cutters and old photos,...
Do-It-Yourself Yarn Pom Pom Garland
I’m always looking for a yarn craft. Yarn is inexpensive and versatile. I like using it because I don’t feel bad when I mess up, which tends to happen. I’ve really enjoyed crocheting and finger knitting recently, so when I came across yarn pom poms, I knew I wanted to try to make them. Making yarn pom poms was a super simple craft and fun to do. Here’s a quick tutorial that explains how to make your own yarn pom poms. A few tricks to keep in mind You can use anything to wrap the yarn around. It doesn’t have to be cardboard. You can even use your hand. Just keep in mind the size of the item you wrap the yarn around will determine what size your pom pom is. Make sure not to wrap the yarn too tight. You have to carefully pull the yarn off the cardboard and keep it in place so you can tie the string around it. If you wrap the yarn too tight this is really hard to do. I learned the hard way. There are lots of different size options. I chose to make bigger pom poms, about the size of a tennis ball....
Scrapbooking Fun: Christmas Card Scrapbook
It’s February, so you’re probably wondering why I’m doing a Christmas post. But it’s more of a what-to-do-with-your-Christmas-cards post. If you’re like me, then around this time of the year you’re wondering what to do with your Christmas cards. Do you throw them all away? Or, toss that pile of Christmas cards in a box and forget about them? I can never bring myself to throw them away. It feels like I’d be tossing out all of that happiness, cheer and memories. But I always have a hard time figuring out what to do with them. And I have quite the paper pile up. This year, I decided to scrapbook my Christmas cards. It’s been a while since I made a scrapbook. When scrapbooking first got popular, I was obsessed with it. But making a big 12×12 inch scrapbook got tiring. Every page started to feel like a huge project. So for my return to scrapbooking, I experimented with a smaller size. It’s 8×8 inches. The hangup a lot of people have with scrapbooking is the expense. Buying a bunch of scrapbooking supplies can definitely get pricey. So for this book, I challenged myself to use what I had. The only supplies I bought for...
Toilet Paper Roll Snowflake
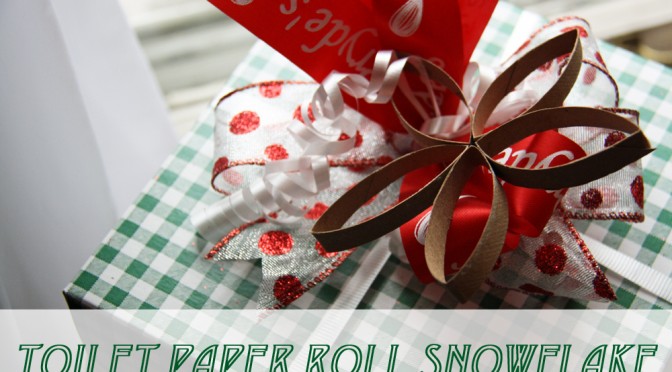
Are you wrapping some last-minute presents today? I know I still have a few to wrap. Just because it’s last minute, doesn’t mean you don’t have time to make each present special. This tutorial will show you how to make a pretty snowflake to top your presents in just minutes. Plus, it uses something we all have around the house—toilet paper rolls! Here’s how to craft your own toilet paper roll snowflake. Gather a bunch of toilet paper rolls or paper towel rolls. Flatten the roll and then cut segments at about 1/2 an inch. Keep cutting and you’ll have a bunch of petal-shaped pieces. Next, hot glue your pieces together in the shape of a snowflake. I just put a tiny dab of glue on the corner of one piece and stuck the other corner to it. Then, just go around in a circle. I used five pieces to make my snowflake, but you can use as many or as few as you like. After all, no snowflake is the same. What do you think of these toilet paper roll snowflakes? Let me know in the comments… Keep Up With Red Leaf Style! Follow Red Leaf Style author Kirsten...
DIY Homemade Christmas Ornaments with Cinnamon Sticks
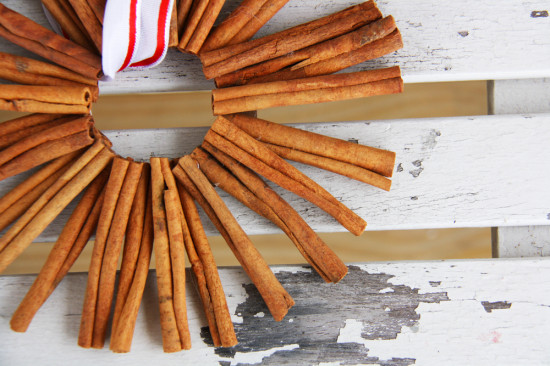
These easy-to-make cinnamon stick Christmas ornaments will fill your home with the enticing scent of cinnamon spice. You can construct these simple Christmas ornaments using just cinnamon sticks, cardboard and a hot glue gun. It’s a great way to use up any extra cinnamon sticks in your cupboard. I put together this crafty Christmas project for Organic Authority, a food, home and lifestyle website dedicated to living organic. Head on over to Organic Authority to find out how to make these homemade cinnamon stick Christmas ornaments for your Christmas tree. Get more decorating inspiration when you sign up for my e-newsletter!...
DIY Christmas Tree Cones
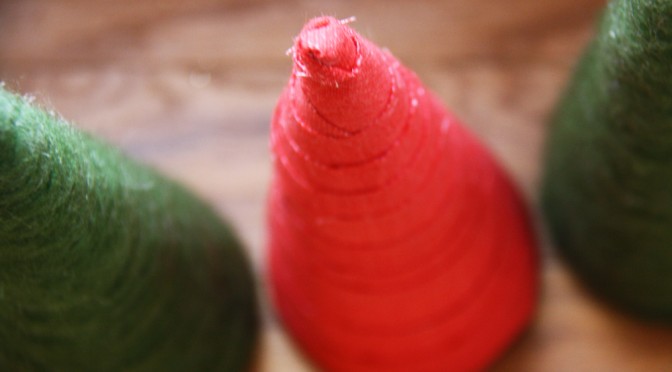
If you want to decorate your home for Christmas but don’t want to spend a bunch of money, these easy-to-make Christmas tree cones are for you. This simple craft project cost me next to nothing to make and now I have three cute Christmas trees to decorate my mantle. Making these Christmas tree cones doesn’t require a lot of supplies or effort. This project is so easy even the not-particularly-crafty folks can do it. Follow my step-by-step instructions to make your own crafty Christmas tree cones using yarn and fabric. Supplies for yarn cones: Styrofoam cones (I purchased three at Dollar Tree for $3.) Yarn (I already had some green yarn on hand.) Hot glue gun/glue sticks Thick paper Supplies for fabric cones: Styrofoam cones Fabric (I had some on hand that I purchased from an estate sale for $1.) Hot glue gun/glue sticks Thick paper Straight pins The steps for making yarn and fabric cones are similar, so I’m just going to go through them at the same time. Start with your styrofoam cones. The cones I purchased didn’t have pointy tips. I wanted them to actually resemble Christmas trees, so I had to create my own tips. To...

